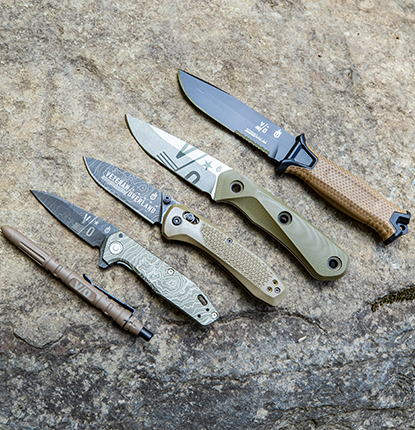
We’re sure you’ve heard it by now: dull knives are more dangerous than sharp knives. But it’s true, keeping your knife sharp is like changing the oil in your car, but keeping your blades sharp is an important part of maintenance that protects you and will lengthen your knife’s effective life. So,do you know how to sharpen your knife? If not, don’t worry We’ll cover everything you need to know about sharpening your knife.
First, sharpening your knife is an important skill to learn because you should sharpen your knife lightly and often. Lightly is the keyword. Oversharpening can have the opposite effect and damage your knife.
If you have a very dull knife or still don’t have the confidence to do it yourself, take it to a professional who can sharpen it to the point where you can maintain the edge from there on out. Between sharpenings, use a Honing Steel to straighten the edge of your knife to maintain optimal performance.
DIFFERENT TECHNIQUES
There are quite a few methods to sharpen a knife. In this article, we’ll mainly be covering a whetstone. But you can also use a power sharpener or a guidance system. Each has its pros and cons. But in general, a whetstone, or sharpening stone, is the most common technique to use because it removes the least amount of material from your blade.
Power sharpeners are great to use due to their speed and ease. They set all your knives to one angle but tend to remove a lot of material from your blade (if you’re not careful)
HOW TO SHARPEN YOUR KNIFE WITH A WHETSTONE
SOAK WHETSTONE
Have your whetstone submerged in water for at least an hour before you start. Once ready, place it on a stable surface like a towel on your counter.\
START WITH THE COARSE SIDE
Most whetstones have a coarse side and a fine side. Start with the coarse side or lower grit side. Now, it’s time to grab your knife and get started.
SELECT YOUR ANGLE AND BEGIN
Sharpening angles are a topic unto themselves. Generally speaking, we recommend sharpening any Gerber knife between 20 and 30 degrees. You can and should buy Consider purchasing an angle guide to help you get a consistent angle.
Start at the heel or the part closest to your handle. Maintaining solid and even pressure, move the knife slowly over the stone toward you down the length of the stone. As you do this, move the knife across until you reach the tip of the blade. (Recommend that we encourage people to move the blade away from the body.)
Continue to repeat this motion, always ending at the tip of the blade.
METALIC WATER AND BURRS
As you continue this process, you’ll start to notice metallic, silty water collecting on the blade and the stone. This is a good sign; this liquid helps remove the material off the blade, or in other words, sharpen it.
After a good number of strokes, it could be anywhere from 30 to 40, a burr may develop on the blade. Check this by running your thumb gently across the edge; if it catches, it’s time to repeat on the other side.
REPEAT ON THE SECOND SIDE
Follow the same steps as before. Check your stone and make it still wet; it needs to stay wet for the entire process. Try to do the same number of strokes as the first go-around.
FINISH WITH A FINER GRIT
Now, you need to finish with a finer grit. Switch sides to your finest grit and repeat the whole process again. Once you’re there, wipe your blade clean and give a quick test. If it cuts nice and easy, then you’re good to go.


