Imagine yourself for a moment, camped out in the woods with good friends and family around a crackling campfire you built by hand with just a few simple tools. Sound like a good time? Want everyone to think you’ve been building fires since before you could walk? Need to know how to build a fire?
Whether you’re cooking over an open flame, need to warm your bones on a chilly night or want a good fire to share some drinks and spin some stories–the ability to build a proper campfire is a useful and impressive skill.
If you’re new to camping, the number of tips, techniques, and ways to make a fire might overwhelm you. A lot can go wrong, especially when folks ignore campground rules, burn bans, or use dangerous techniques to try and quickly get a flame going. But don’t let all of that stop you, even the most experienced campers can learn a thing or two about building a campfire.
In this article, we cover a simple, straightforward, and safe way to learn how to build a fire that just about any capable adult can do.
THE BASIC STEPS OF A FIRE
We’ll go into more detail with each step. But the steps to start a fire are as follows:
- Have the right tools on hand
- Ensure you have a safe and secure area to start a fire.
- Gather wood for fuel
- Cut the wood into logs, tinder, and kindling
- Start the fire
- Light the tinder
- Add kindling
- Add logs
- Maintain and enjoy
EVERYTHING YOU NEED BEFOREHAND
1) Have the right gear on hand
Before heading out into the wild, ensure you have everything on hand to set you up for success. From tools to a proper pit and fuel, you should always come prepared. Some techniques require more gear, while others can be very minimalist. In this case, we’ll be using the gear listed below. Learn more about each tool and purchase it directly from gerbergear.com.
Essential Gear
STEP BY STEP
2) Ensure you have a safe and secure area to start a fire.
Just cause you’re camping or outdoors, it doesn’t always mean you can start a fire. The first thing you should know is if there is a burn ban or a wildfire risk in your area. If you’re at a campground, check for any signage or speak with the host to see if you can have a fire.
Most campgrounds will have designated fire pits, but if you’re out on public land or a wilderness area, you’ll most likely need to create your own pit. Find a nice, flat spot that’s a healthy distance from trees, brush, or any dry vegetation that could catch fire. Dig a small hole with your shovel about 6 to 8 inches deep and 2 to 3 feet in diameter (bigger depending on how big you want your fire). You don’t have to line the hole with rocks, but it can help create a nice protective border around the fire. Plus, it looks good.
3) Gather fuel for the fire.
This can be a quick step or a long one, depending on how prepared you are. If you purchased logs at a store or campground, you’re all set. Just make sure you have enough for your outing. Different woods burn at different temperatures and speeds. The more you have the better.
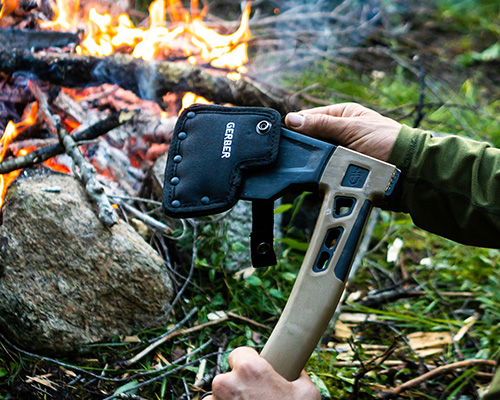
Look for fallen branches and logs when you’re gathering at your campsite. These are more likely to be dry and have a better chance of burning. Use your saw or hatchet to turn big pieces into more manageable logs and twigs for kindling and tinder.
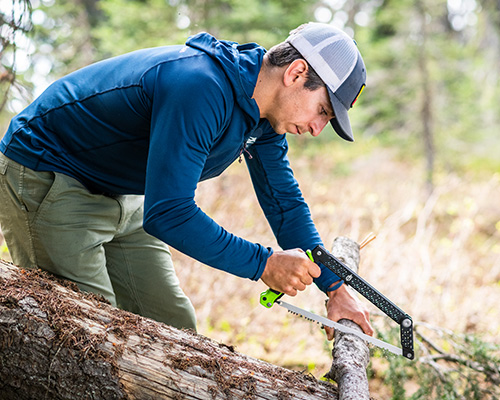
4) Cut the wood into logs, tinder, and kindling using a knife and hatchet.
A fire consists of 3 things: tinder, kindling, and logs. Each plays an important role in starting and sustaining a fire.
Tinder is a small, easy-to-combust material that is used to start a fire. Bark, dry grass, and wood shavings are the most common choices for tinder. Some very prepared folks even bring dryer lint. A way to make tinder from a bigger log is to make thin wood shavings. Take a knife and make cuts away from your body like you are whittling. The lighter and smaller the shaving, the better. Make or gather a large handful of tinder.
Kindling is the wood between the tinder and the logs. It can usually be small branches or twigs. You can always make kindling from bigger logs by chopping them into thinner and more manageable pieces.
Batoning is a great technique to make kindling out of larger pieces of wood.
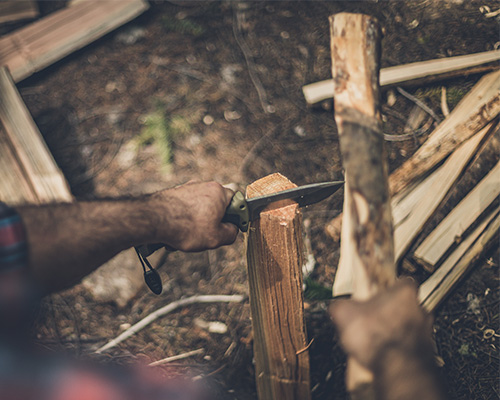
5) Arrange the tinder.
Now, it’s time to assemble your fuel and start the fire, we’ll start small and build big. Start by placing your tinder in the center of your firepit. Make sure you have your kindling and logs within reach.
6) Light the tinder.
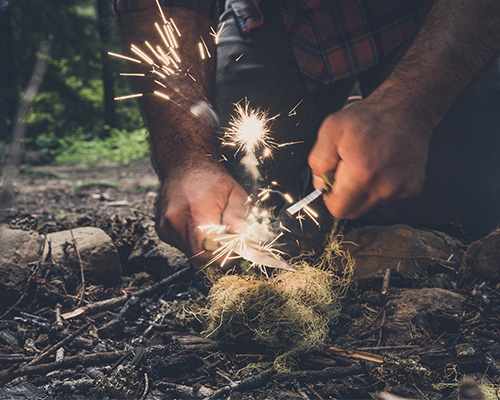
Here’s where the fun begins. Grab your Firestarter and place it over your tinder. Give your ferro rod a good, solid strike to get some sparks to land on the tinder. This may take a few tries, but be patient and prioritize quality over quantity.
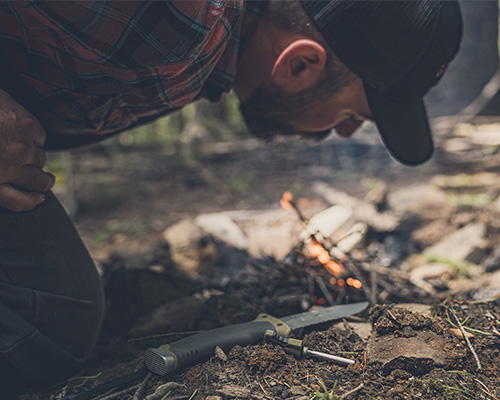
7) Add Kindling.
When the tinder begins to catch, grab your smaller pieces of kindling and place it on the tinder. Make sure not to smother the flame and allow plenty of oxygen to flow in. Place your bigger pieces of kindling in a pyramid shape around the burning tinder.
8) Add logs
While the flame is still small but steadily growing, you can start to place your logs into the fire now. Take 4 of your smallest logs and place them in a pyramid shape around the kindling. You’ll want to adjust the angle so that can catch the flames below without falling over and smothering the flame.
9) Maintain and enjoy
Once the logs catch, don’t start celebrating quite yet. The logs can fall as they burn, so you need to keep an eye on the fire as it burns. Add logs when you feel it starts to die down a bit or if it’s looking unstable. Once it’s a steady flame, grab a drink, a chair, and the rest of the crew to enjoy that fire as long as you like.
10)Extinguish the fire.
Leave no trace.


